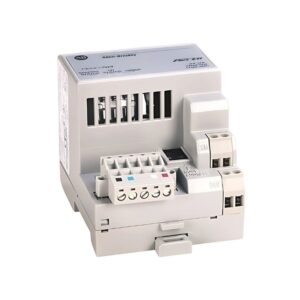
Photoelectric Sensor | E3Z-LS86 | Omron
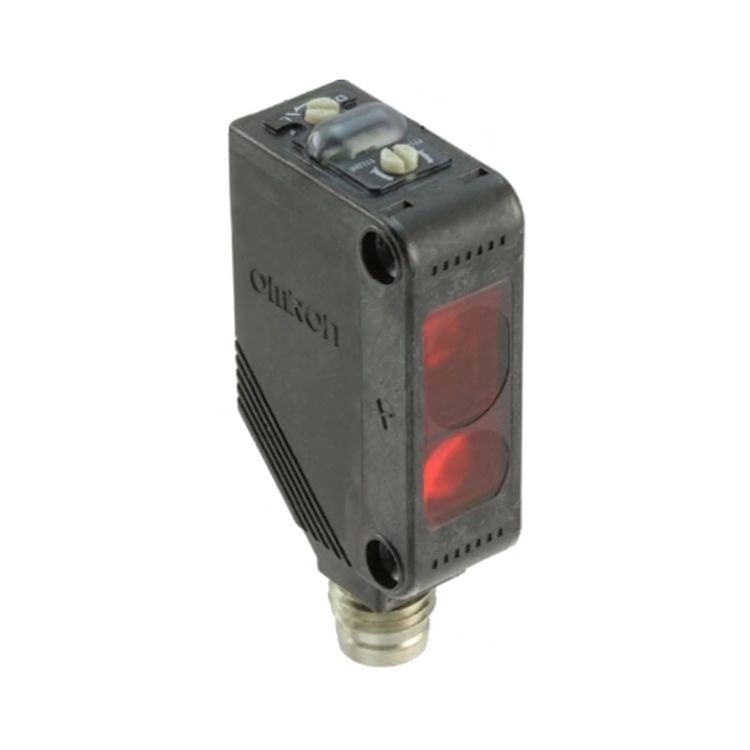
The Omron E3Z-LS86 is a distance-settable Photoelectric Sensor with built-in amplifier and PNP output. It is applicable to a wide variety of lines and ensures a longer sensing distance than any other model. The user-friendly photoelectric sensor takes all installation and on-site conditions into consideration. It eliminates the influence of installation and on-site conditions, thus increasing the reliability of the line.
Brand: Omron
Model: E3Z-LS86
Type: Photoelectric Sensor
Introduction:
Distance-setting, Sensing distance 20 to 200 mm, Light-ON/Dark-ON selectable, PNP, M8 connector models, Red LED (670 nm)
Make sure that the power supply to the Sensor is within the rated voltage range. If a voltage exceeding the rated voltage range is supplied to the Sensor, it may explode or burn.
Do not short-circuit the load, otherwise the Sensor may be damaged.
Do not connect the power supply to the Sensor with no load connected, otherwise the internal elements may explode or burn.
The Sensor is ready to operate 100 ms after turning it ON. If you connect the load and Sensor to independent power supplies respectively, make sure to turn ON the Sensor before supplying power to the load.
Always turn OFF the power supply to the Sensor before connecting or disconnecting the metal connector.
Hold the connector cover to connect or disconnect it. If the XS3F is used, always tighten the connector cover by hand. Do not use pliers. Vibration or the lack of proper protection of the Sensor may cause the connector to be disconnected if it is not securely connected. The appropriate tightening torque is 0.3 to 0.4 N·m. If you use other commercially available connectors, follow the recommended connector application conditions and recommended tightening torque specifications.
If Sensors are mounted face-to-face, make sure that the optical axes are not in opposition to each other. Otherwise, mutual interference may result.
Always install the Sensor carefully to avoid directly exposing it to intensive light, such as sunlight, fluorescent light, or incandescent light.
Do not strike the Photoelectric Sensor with a hammer or any other tool during the installation of the Sensor, or the Sensor will lose its water-resistive properties.
Use M3 screws to mount the Sensor.
When mounting the case, make sure that the tightening torque applied to each screw does not exceed 0.54 N·m.
Make sure that the sensing side of the Sensor is parallel with the surface of the sensing objects. Normally, do not incline the Sensor towards the sensing object. In case the sensing object has a glossy surface, however, incline the Sensor by 5° to 10° as shown in the illustration, provided that the Sensor is not influenced by background objects.
| Specification | Detail |
|---|---|
| Shape | Square Type |
| Sensing Method | Distance- setting |
| Sensing Distance | 20 to 200mm |
| Setting Range | White Paper 100 x 100 mm: 40 to 200 mm Black Paper 100 x 100 mm: 40 to 160 mm |
| Differential Distance |
10% max of setting distance |
| Reflectivity characteristic | 10% max of setting distance |
| Light Source | Red LED (670 mm) |
| Power Supply Voltage | 12 to 24 VDC±10% ripple (p-p) 10% max |
| Current Consumption | 30 mA max |
| Operation Mode | Light-ON/Dark-ON select-able |
| Ambient Temperature Range (Operating) |
-25 to 55 ℃ (with no freezing or condensation) |
| Ambient Temperature Range (Storage) | -40 to 70 ℃ (with no freezing or condensation) |
| Insulation Resistance | 20 MΩ min. (500 VDC megger) |

